REVIEW · OAHU
Waikiki Trolley Hop-On Hop-Off Tour of Honolulu
Book on Viator →Operated by E Noa Tours · Bookable on Viator
Two hours, zero parking stress. This hop-on hop-off trolley setup makes Honolulu feel manageable fast, with driver narration and multiple routes so you can build a day around your interests instead of a rigid schedule. I really like the flexible pass options (1-, 4-, or 7-day) because they let you come and go as plans change, and I also like that the ride itself gives context as you pass major spots. The main drawback is simple: on busy days the trolleys can get crowded, and wait times can stretch if you’re not early.
You’ll start by redeeming your ticket at 320 Royal Hawaiian Ave, across the Waikiki Shopping Plaza. From there, the double-decker bus or open-air trolley loops around Honolulu, and you can stay onboard for longer stretches or jump off when something catches your eye. Plan on this being your transportation backbone, not your full day of paid attractions.
Choose routes with purpose. The Blue route is the one tied to Diamond Head, while the Red route is the one that takes you through Chinatown and downtown Honolulu, and you can add an all-line option if you want to cover more. If you want the easiest first pass at Honolulu without a car, this is a strong, low-stress way to do it.
In This Review
- Key takeaways before you ride
- Why a hop-on trolley is a smart Honolulu move
- Price and pass choices: where your $22 fits
- Start point matters: 320 Royal Hawaiian Ave and the fastest way to use your day
- The Blue-route style east side: Zoo, Aquarium, Kahala, Halona, Sea Life Park, and Diamond Head
- The Red-route style downtown and Chinatown loop: palaces, Punchbowl, gardens, and Aloha Tower
- Short hops in Waikiki and the Diamond Head edge: Koko Marina, KCC market, and quick beach-area access
- Shopping, food stops, and Ala Moana: using the trolley for errands without guilt
- On-board rules and real timing: how to avoid the most common headaches
- Admissions and planning: your day needs more than the trolley
- Who this tour fits best (and who might not love it)
- Should you book the Waikiki Trolley Hop-On Hop-Off Tour?
- FAQ
- How long is the Waikiki Trolley Hop-On Hop-Off Tour?
- How much does it cost?
- Where do I redeem my ticket?
- Can I hop on and hop off during the tour?
- Are admissions to attractions included?
- Is hotel pickup and drop-off included?
- Are there restrictions on what I can bring or do onboard?
- Is it refundable if I cancel?
Key takeaways before you ride
- Multiple passes (1, 4, or 7 days) so you can match the tour to your trip length
- Single-line vs all-line options, letting you focus or go big
- Driver narration on the ride makes the sightseeing feel organized
- Main stops cover big hits like Honolulu Zoo, Waikiki Aquarium, and Diamond Head
- Some attractions require separate tickets, so you still need a plan for admissions
Why a hop-on trolley is a smart Honolulu move
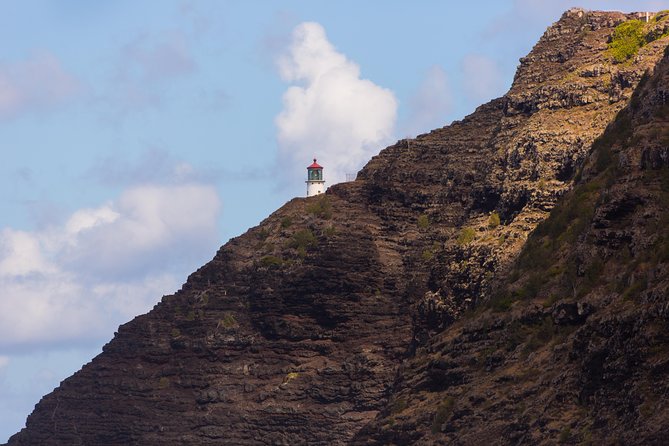
Honolulu is easy to walk for parts of Waikiki, but once you want Diamond Head, the zoo, Chinatown, or Punchbowl, things get slower fast. Taxis add up quickly, and renting a car in Waikiki can turn into a daily parking search.
This trolley tour is built for “see the highlights, then decide.” You’re not stuck with one route. You can ride for views, get off to explore, then return to the next trolley when you’re ready. If you like a bit of freedom but still want help figuring out where to go, the pass concept fits nicely.
The other win is the guided drive-by experience. As you roll past famous landmarks and neighborhoods, you’re not just watching buildings. You get spoken context while you’re already moving, which makes your time on the ground more productive.
You can also read our reviews of more tours and experiences in Oahu.
Price and pass choices: where your $22 fits
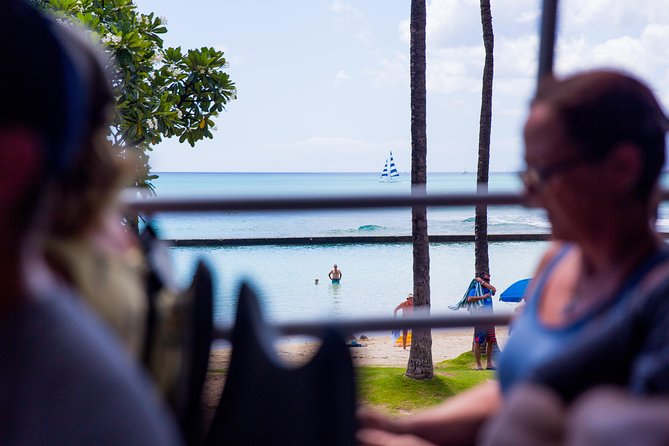
The price listed is $22.00 per person. On paper, it can sound like a single purchase for one ride, but the value comes from the pass model: unlimited use for your selected route over 1, 4, or 7 days.
Here’s how I’d think about value:
- If you’re only in Waikiki a day or two, a shorter pass can still pay off by helping you avoid the cost and hassle of a car.
- If you’re staying longer and want to mix beaches with museums, cemeteries, and shopping areas, the 4- or 7-day option turns the trolley into a daily tool.
- If you’re the type who hates missing things, the all-line option can simplify your planning, even if switching routes sometimes means extra walking.
The key catch: the trolley gets you to the front door area, but it does not include admission to the paid attractions along the way. So your best “bang for the buck” happens when you plan at least one or two stops you actually want to enter.
Start point matters: 320 Royal Hawaiian Ave and the fastest way to use your day
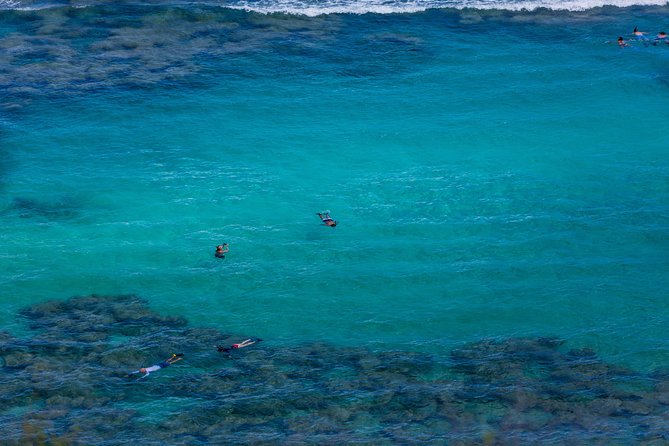
Your ticket redemption point is 320 Royal Hawaiian Ave, right across from Waikiki Shopping Plaza. That matters because if you show up at the wrong corner, you’ll lose time before you even start.
A practical tip: treat the redemption stop like your home base. Even if you hop off later, you’ll still be returning to the same general area when you need to catch a trolley again—especially if you’re switching between routes.
Also keep in mind the on-board rules:
- No food or drinks on board
- No smoking on board
- Shirts, cover-ups, and footwear required at all times
- Baggage must be small (up to 24″ x 18″ x 12″) and stored on your lap
- Foldable strollers and items like boogie boards can’t stick into other seats
These rules aren’t just formalities. When trolleys get packed, small baggage and clear seating rules make the ride smoother for everyone.
The Blue-route style east side: Zoo, Aquarium, Kahala, Halona, Sea Life Park, and Diamond Head
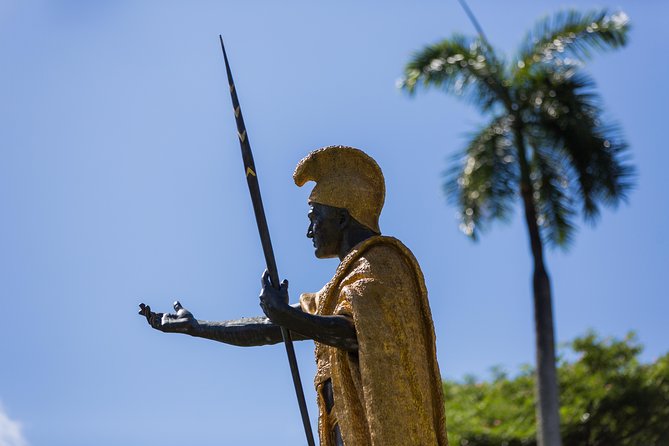
This is the route you’ll want if your list includes ocean views and the classic “east side” Honolulu stops. It loops through a chain of family-friendly, well-known landmarks, and it’s the one tied to Diamond Head.
Starting from the main Waikiki area at 320 Royal Hawaiian Ave, you’ll pass the Duke Paoa Kahanamoku statue early on. It’s a good first stop because it’s right in the Waikiki orbit and sets the tone for the day before you head farther out.
Then the route moves into the major attractions:
- Honolulu Zoo: great if you want a straightforward, ticketed visit during your ride time
- Waikiki Aquarium: another easy “hop off and go” option if you want marine-life time
- Kahala Mall (appears more than once on the loop): handy as a mid-route reset point, especially if you want snacks or a quick break before continuing
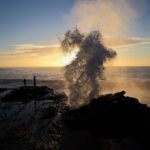
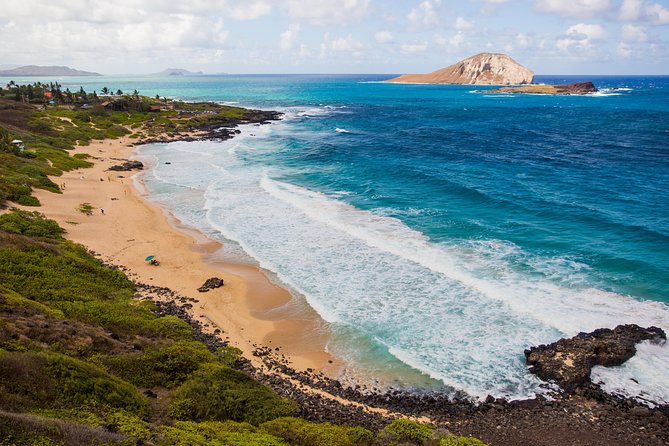
- Halona Blow Hole: a visual stop that’s more about the moment than wandering for hours
- Sea Life Park: a longer attraction stop if you want a full chunk of time off the trolley
- Koko Marina Center: useful as a change of pace and a place to regroup before heading back
As the route circles, you’ll also see food and local stop options such as Diamond Head Market & Grill and Aloha Pineapple Cafe’. If you plan to eat while you’re “out,” those stops help because you’re not forced to return to Waikiki first.
Later on, you’ll pass Rainbow Drive-In and a Local Foods stop. These are the kinds of stops that make the trolley feel useful beyond sightseeing—you can handle practical needs (a meal, supplies, or a quick bite) without planning a separate logistics trip.
Finally, you end up back around the Diamond Head area again. On the route, the experience is basically: hop on for the view and pacing, hop off for the paid attractions, then hop back on when you’re ready to keep moving.
A real-world note from how people experience these routes: even with decent frequency, the east side can get busy. If you’re aiming for a specific timed entry, get early and give yourself buffer time between trolleys.
The Red-route style downtown and Chinatown loop: palaces, Punchbowl, gardens, and Aloha Tower
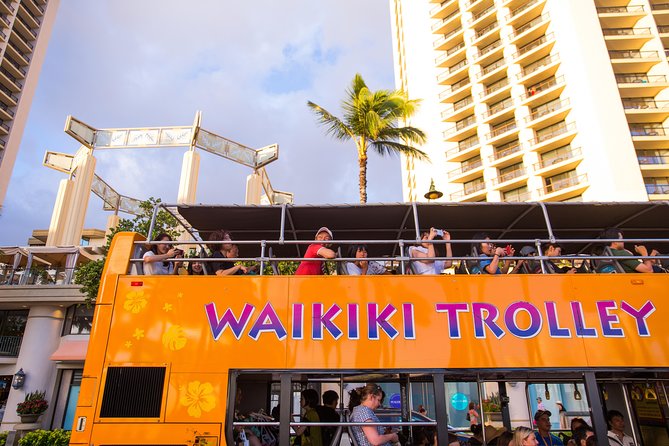
If you want Honolulu’s “history and city” side, this is the route tied to Chinatown and downtown. It’s also the one that strings together landmarks that you can’t easily cluster by foot from Waikiki.
You’ll start again from 320 Royal Hawaiian Ave, then head past the Duke Paoa Kahanamoku statue. Early in the loop, you’ll catch hotel and central-town connections, including The Twin Fin Hotel.
A standout on this route is the museum timing. Honolulu Museum of Art (HoMA) is explicitly listed as closed Mondays–Wednesdays. If you’re traveling mid-week, don’t build your schedule around HoMA unless you’re sure your visit day lines up.
From there, the route steps into major landmarks:
- Hawaii State Capitol
- Iolani Palace
- Punchbowl Crater and the National Memorial Cemetery of the Pacific
This is one of those trolley segments where the ride-by context can help you understand what you’re looking at once you get off. It also helps that these sites are concentrated enough that you can do a half-day feel even if you don’t want to rush.
Next comes the garden and faith/culture stops:
- Foster Botanical Garden
- Izumo Taishakyo Mission of Hawaii
- Royal Kitchen (a stop that can work as a break point)
Then you reach Chinatown, with Downtown Honolulu and the Hawaii Theatre nearby, and you’ll also pass:
- King Kamehameha statue
- Aloha Tower Marketplace (including the history of Aloha Tower and the harbor area)
Later in the loop, you’ll head into the Kaka’ako-to-Ala Moana zone:
- SALT At Our Kaka’ako (667 Auahi Street)
- Ward Centre (1141 Auahi Street)
- Ala Moana Regional Park with a noted city bus stop reference (City Bus Stop #1102)
One practical consideration: Chinatown and parts of downtown can feel harder to navigate when you’re trying to line up a trolley pickup. If you get off there, make it a point to know where the trolley stops you to re-board. You’ll save stress by doing that upfront rather than hunting while tired.


Short hops in Waikiki and the Diamond Head edge: Koko Marina, KCC market, and quick beach-area access
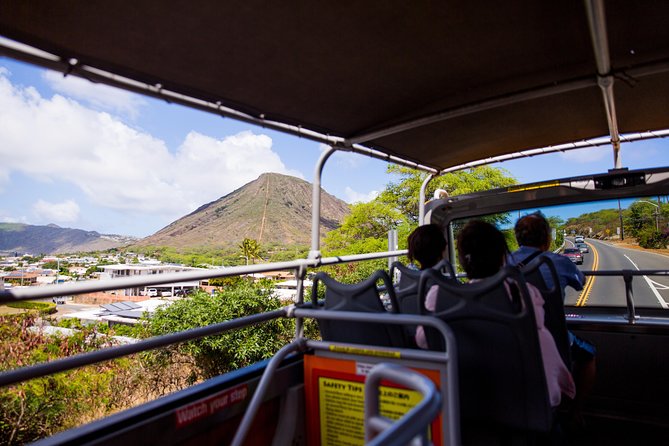
Not every route on this system is built to be a long tour. Some loops are basically for repositioning: getting you from hotel areas to a few key points without dealing with buses and transfers.
One route set includes stops like:
- Ilikai Hotel & Luxury Suites
- Hale Koa Hotel
- Ka La’i Waikiki
- back to Waikiki Shopping Plaza
- Duke Paoa Kahanamoku statue
- Honolulu Zoo again (though listed again on this loop, it can be a useful connection)
- Diamond Head Crater
- and KCC Farmers’ Market (Saturdays only)
That last one matters. If you’re visiting on a Saturday, this is a strong “morning plan” type of stop because it’s tied to a specific day.
Even without counting a market, these shorter hops can help if you want to:
- get to Diamond Head without figuring out local bus timing
- do a zoo or aquarium day without committing to a full east-side day
- avoid the late-afternoon scramble when you’re deciding whether to move locations again
Shopping, food stops, and Ala Moana: using the trolley for errands without guilt
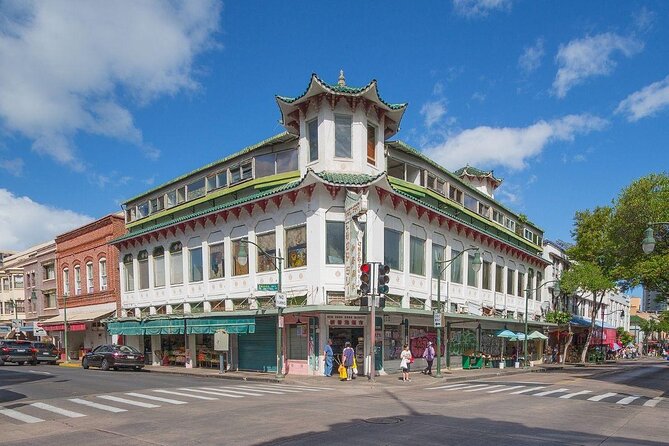
Another route set leans practical. It ties Waikiki hotels to places like Ala Moana Center and includes food-stop names along the way.
You’ll see stops such as:
- multiple Waikiki hotel areas including Hilton Waikiki Beach Resort & Spa, Courtyard by Marriott Waikiki Beach, Hotel La Croix, and Hilton Grand Vacations Club Hokulani Waikiki
- a noted food stop with Marugame Udon
- another hotel cluster including Aqua Palms Waikiki and IHOP
- then Ala Moana Center (noted as the ocean side)
This route is ideal when you want to mix sightseeing with real life stuff: a meal, a grocery run, or shopping. It also lines up nicely with how most people naturally spend time in Waikiki, because you can start close to your hotel and still reach the bigger mall zone.
One review highlight pointed out that the Pink line is useful for groceries like FoodLand. Even if you don’t shop every day, having a route that makes it easier to restock basics can be a sneaky trip-saver.
On-board rules and real timing: how to avoid the most common headaches
This trolley experience is usually easy, but there are a few things you should plan for.
First, expect crowds. Some runs get full enough that passengers end up standing for portions of the ride. If you really want a seat (or you’re traveling with older legs), start early in the day and try to board before the trolleys fill.
Second, don’t assume the posted schedule is perfect. There are reports of long waits when trolleys fall behind, including situations where a route advertised around every 40 minutes still stretched far past that. So I treat the trolley like a helpful system, not a guaranteed exact minute-by-minute ride.
Third, be careful with transfers when you have an all-line pass. One downside people described is that switching lines can mean extra walking back toward the main boarding area rather than quick roadside swaps. If you’re the kind of traveler who plans by the hour, give yourself extra time.
Finally, follow the on-board behavior rules. The instruction not to stand in stairwells while in motion is one of those “this is for safety” rules, and it affects how crowded the boarding area feels.
Admissions and planning: your day needs more than the trolley
One of the most important value points is also a potential surprise: admissions are not included.
Stops like Honolulu Zoo, Waikiki Aquarium, and Sea Life Park are very likely paid attractions, and Diamond Head is also typically an additional-ticket type of visit. That means your best planning strategy is:
1) Decide which 1–2 attractions you actually want to pay for that day
2) Use the trolley to position yourself near them
3) Leave extra time for your off-trolley walk and any entry steps
If you only ride without entering, the cost can feel less justified. But if you plan even a small “one ticket day” or “two ticket day,” the trolley becomes a time-saver that also reduces stress.
Also, food and drinks aren’t sold onboard, so bring water if that’s your thing. And plan meals at stops that actually make sense for you, like the Diamond Head Market & Grill and cafe stops on the east route.
Who this tour fits best (and who might not love it)
This is a great fit if you:
- want a car-free way to hit Honolulu highlights
- like flexible days where you can change your mind mid-trip
- want a simple orientation tool for your first days on Oahu
- enjoy narrated context while you ride past major landmarks
It may be less ideal if you:
- need strict, minute-by-minute precision
- hate the idea of crowded boarding
- are hoping the trolley price includes admission to everything you stop at (it doesn’t)
If you’re traveling with kids, the east-side attractions make this route pattern feel especially logical. If you’re more into history and city sights, the Red/downtown loop is the better match. If you just want repositioning with minimal hassle, the shorter Waikiki-linked loops work well.
Should you book the Waikiki Trolley Hop-On Hop-Off Tour?
I’d book it if you want the easiest possible way to explore Honolulu without renting a car, especially if you’re staying a few days and want to mix beach time with paid attractions. The pass structure, multiple routes, and narrated ride make it a strong “get your bearings fast” tool, and it can turn into a practical daily transport option when you don’t want to fight parking.
I’d think twice if you hate crowds or you’re planning around very specific timed entries without slack. In those cases, you’ll want to board early, choose one main attraction per half-day, and treat transfers as flexible.
If you want a low-stress Honolulu plan with built-in freedom, this trolley system is one of the better ways to do it.
FAQ
How long is the Waikiki Trolley Hop-On Hop-Off Tour?
The duration is listed as about 2 hours, though the pass lets you keep using the trolley on your selected line(s) for the number of days you choose.
How much does it cost?
The price is $22.00 per person.
Where do I redeem my ticket?
You redeem tickets at 320 Royal Hawaiian Ave, Honolulu, HI 96815, across Waikiki Shopping Plaza.
Can I hop on and hop off during the tour?
Yes. The tour is hop-on hop-off, and you can ride unlimited times on the line you selected for the length of your pass.
Are admissions to attractions included?
No. Admissions are not included, so you’ll need to pay separately for places you want to enter.
Is hotel pickup and drop-off included?
No. Hotel pickup and drop-off are not included.
Are there restrictions on what I can bring or do onboard?
Yes. Food and drinks are not allowed on board, smoking is not allowed, and baggage is limited to 24″ x 18″ x 12″ stored on your lap. Service animals are allowed.
Is it refundable if I cancel?
No. This experience is non-refundable and cannot be changed for any reason.