REVIEW · OAHU
Kailua Bay, Oahu: Epic Kayak and Snorkel to Islands
Book on Viator →Operated by Kailua Beach Adventures · Bookable on Viator
Calm water can turn into island wildlife. This Kailua Bay trip takes you out by kayak to Mokulua Islands or Popoia/Flat Island, then builds in snorkeling off Lanikai and the chance to see green sea turtles.
I especially like the small-group size (max eight) and how the shop handles the heavy lifting on logistics with all the gear included—kayak, snorkel setup, dry bag, locker access, and showers.
One big consideration: this is not a couch activity. You’ll paddle hard, and you’ll also have to move the kayak to the water (a cart on a short route and drag over sand), and wind can cut the day short.
In This Review
- Key moments to plan for
- Entering Kailua Beach Park: the calm start that sets the tone
- What you check in for: gear, lockers, showers, and the real workout
- Swim and weight limits: don’t skip this section
- Stop-by-stop: how the day is paced and what each place is for
- Stop 1: Kailua (the launch reset)
- Stop 2: Kailua Beach Park (family-friendly, useful for a smooth start)
- Stop 3: Lanikai Beach (snorkeling and sea turtle odds)
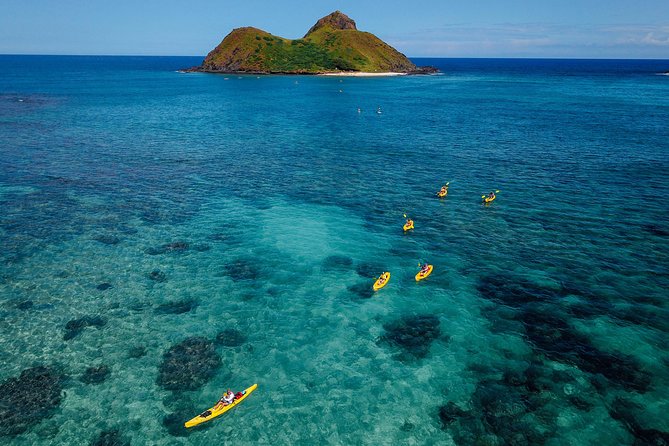
- Stop 4: Mokulua Islands (when the trip feels like a real island day)
- Snorkeling expectations: yes for wildlife, no for guarantees
- Self-guided vs guided: pick the right level of help
- Price and value: what $114.58 buys you
- Who this tour suits best (and who should rethink it)
- Perfect fit if you:
- Consider a different style if you:
- The bottom line: should you book Kailua Bay for this kayak and snorkel day?
- FAQ
- How long is the Kailua Bay kayak and snorkel tour?
- What does the price include?
- Is pickup available?
- Can I go self-guided?
- Where does the snorkel happen?
- Do I need to be able to swim?
- How physically demanding is it?
Key moments to plan for
- Early start means smoother paddling and an easier time getting out to the islands
- Choice of self-guided or guided lets you match the day to your comfort level
- Lanikai snorkeling is a highlight built into the half-day flow, with turtles the main draw
- Mokulua landing is special because it’s a bird nesting sanctuary that requires special permission
- Queen’s Bath + saltwater tide pool views break up the paddling with a unique stop
- Wind decides the snorkeling on many days, so flexible expectations help
Entering Kailua Beach Park: the calm start that sets the tone
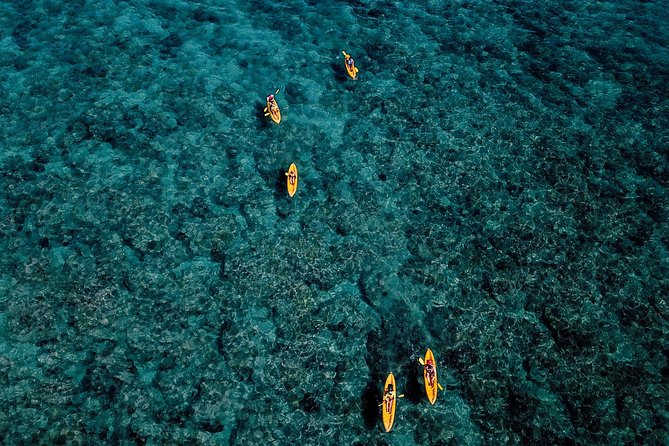
This tour runs about 5.5 hours, and it’s built around a simple idea: go early when the bay is most likely to cooperate. When the water is glassy, you’ll feel the difference right away—less fighting the kayak, more time enjoying the view, and fewer grumpy moments when the itinerary tightens up.
Kailua Beach Adventures has been operating since 1982, and they’ve earned recognition three times for Eco Tour Guide of the Year in Hawaii. That matters because this kind of eco-focused operation tends to treat safety and wildlife rules as part of the experience, not an afterthought.
You’ll meet at 130 Kailua Rd, Kailua, and the adventure begins and ends at Kailua Beach Park. If you’re using pickup, you’ll be shuttled from Waikiki-area hotels on set windows. If not, you’ll park at their lot for free and take a short walk to the launch area.
You can also read our reviews of more tours and experiences in Oahu.
What you check in for: gear, lockers, showers, and the real workout
Check in is 15 minutes before your tour time, and you’ll get a safety briefing and basic kayaking instruction. The equipment is included, which is one of the smartest parts of this trip’s value: you’re not piecing together multiple rentals or hunting for a shop that has the right snorkel fit.
You’ll be outfitted with life jacket, snorkel gear, and a dry bag. There are also lockers for valuables and showers when you return—small comfort details that matter after a saltwater day.
Then comes the part many people forget to factor in: you may have to physically help move your kayak. The kayak is listed as weighing about 70 lbs, and you’ll need to transport it to the beach using their cart route and drag over sand. On top of that, the paddling itself is described as a workout in the real world. Some guests report distances in the neighborhood of a few miles round trip, so I’d treat this as moderate cardio and upper-body work, not just a scenic glide.
Swim and weight limits: don’t skip this section
All guests must be able to swim, even with life jackets provided. If you’re traveling with kids, note that children 15 and under must be with an adult in a double (tandem) kayak. Weight limits are also clear: 280 lbs (127 kg) for a single-person kayak and 400 lbs (181 kg) for a tandem.
Stop-by-stop: how the day is paced and what each place is for
This trip is structured so you alternate between effort and reward. You’ll paddle out, take in wildlife and scenery, snorkel, then slow down for lunch and beach time.
Stop 1: Kailua (the launch reset)
At the start, you meet guide staff and get oriented to routes and conditions. Even if you choose self-guided, the prep matters: they explain what you’re doing on the water and how to handle the gear properly.
A practical detail I appreciate: they assign lockers for valuables and emphasize having everything you need before you launch. Once you’re out, you’re focused on kayaking, not improvising.




Stop 2: Kailua Beach Park (family-friendly, useful for a smooth start)
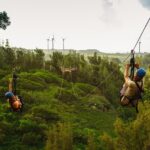
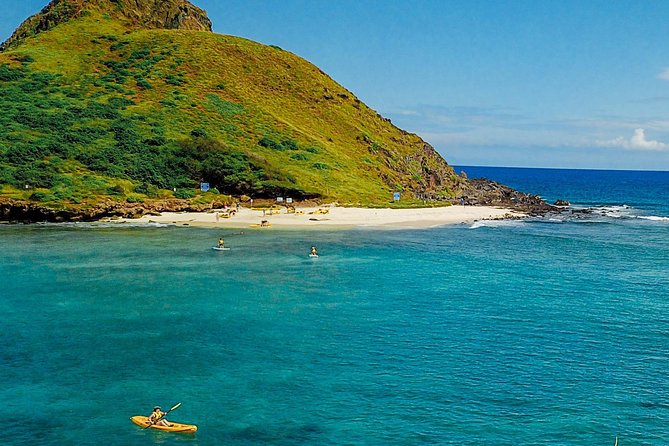
Kailua Beach Park is the launch and landing area. It’s often described as family-friendly, and that’s consistent with why it’s a good base: easier logistics, and a calmer transition from land to water.
Expect about half an hour at this stage in the schedule. This is where you’ll settle into the feel of your kayak and get into rhythm.
Stop 3: Lanikai Beach (snorkeling and sea turtle odds)
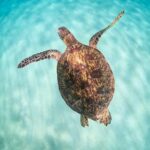
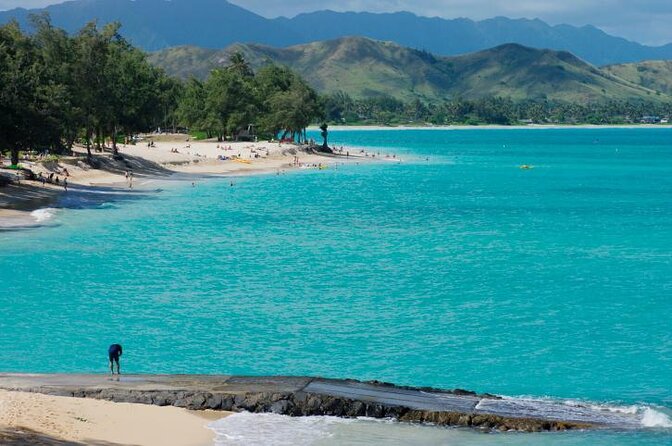
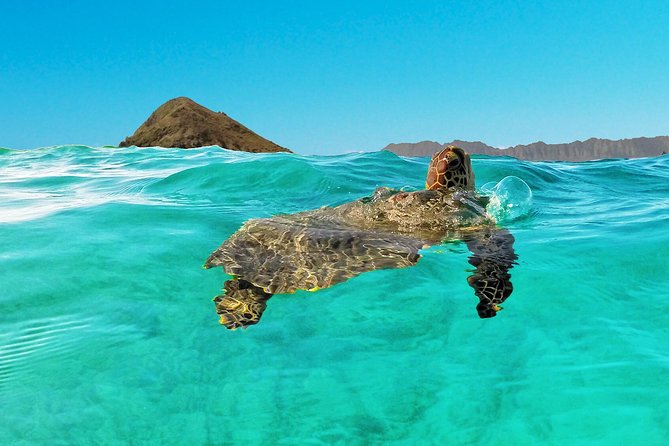
Then you paddle along Lanikai Beach, one of the most famous stretches on Oahu for its soft sand and clear water. The main goal here is snorkeling and the chance to see green sea turtles.
In calm conditions, you’ll likely feel like you’ve hit the jackpot quickly. In windier conditions, snorkeling can become less comfortable, and visibility or access can change. The good news is that the trip keeps moving: you’re not stuck waiting for perfect water forever.
Stop 4: Mokulua Islands (when the trip feels like a real island day)
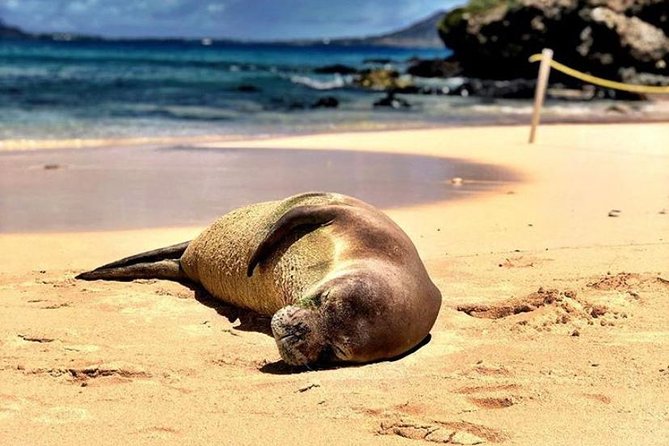
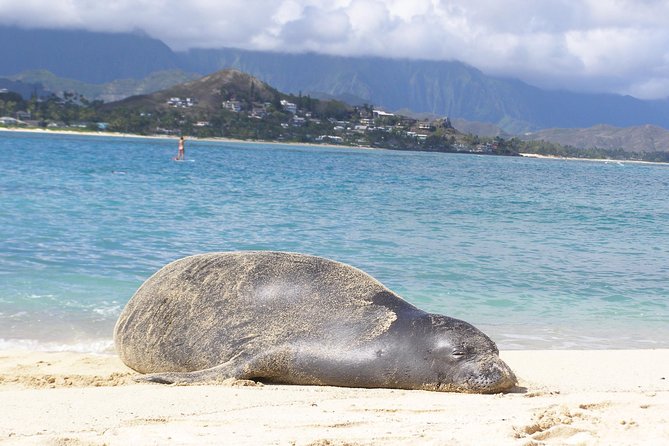
The final destination is typically Moku Nui (part of the famed Mokulua/Twin Islands)—a bird nesting sanctuary requiring special permission to visit. This stop is built for wildlife lovers because seabirds nest there, and you might see Hawaiian monk seals basking on the beach and sea turtles feeding around the coral reefs.
There’s also a planned land-and-water rhythm here:
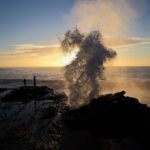
- A short hike to Queen’s Bath, a tide pool
- A chance to view the area from a saltwater pool
- Back out for snorkeling while searching for turtles and tropical fish
Lunch comes after you’ve earned it. The picnic is described as a chance to eat while watching the waves and the Ko’olau Mountains. Native sea birds cruise overhead, and guides share stories tied to Hawaiian voyaging through these waters.
One important note: if you select self-guided, the itinerary is flexible. That can be a plus on a day with changing winds—if the water is too rough for one landing, you may still get a great kayak-and-snorkel flow.
Snorkeling expectations: yes for wildlife, no for guarantees
Snorkeling is the headline, but it’s also the most weather-dependent part of the day. On good days, people describe seeing lots of fish and even sea turtles in open water or around the islands. On windier days, snorkeling can end up feeling more limited than hoped.
So here’s the honest way to plan your mindset: go for wildlife encounters, not a checklist. If the ocean is cooperating, you can have an up-close day. If it isn’t, you’ll still get the kayaking and island exploration—and that’s often what makes the trip feel complete.
Self-guided vs guided: pick the right level of help
This is one of those tours where your choice actually changes the experience. You can do a self-guided version with flexible timing and route decisions, or book with a professional guide.
If you’re newer to ocean kayaking, you’ll probably feel a lot more secure with guidance. Several people highlight how helpful the staff were at keeping them on track, and how guides supported safety and comfort while also sharing local context. Names you might hear include Mike, Isaac, Tupre, Alex, Evelyn, and Brian—each credited with making the day smoother and more interesting.
If you already paddle confidently and you want control over your pace, self-guided can be a great way to enjoy Kailua Bay without feeling rushed. Just know that you still have to meet the same physical and swim requirements.
Price and value: what $114.58 buys you
At $114.58 per person, this isn’t cheap—but it’s not just “rent a kayak and good luck.” Your price includes:
- Kayak use
- Snorkel equipment and a dry bag
- Island landing permits
- Lockers and showers
- Lunch (deli lunch)
- Safety briefing and instruction
That bundling matters because it cuts down on extra costs you’d normally pay separately: gear rentals, transport between activities, and permits. For a half-day format that still includes wildlife-focused stops and beach time, it tends to feel like a solid value—especially since the group size is kept small (max eight).
Who this tour suits best (and who should rethink it)
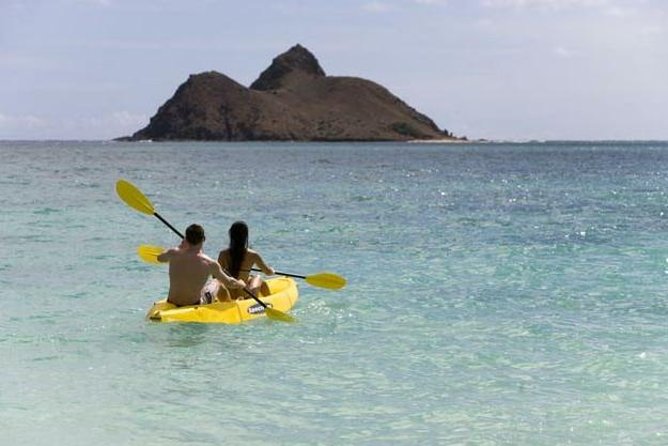
This is best for people who want an active Oahu day and don’t mind doing real work for great views.
Perfect fit if you:
- Want kayaking + snorkeling + beach lunch in one trip
- Are comfortable swimming and follow safety instructions
- Have a moderate fitness level and can paddle for a while
- Like wildlife and bird sanctuary rules
Consider a different style if you:
- Have limited upper-body strength or mobility for carrying and dragging a ~70 lb kayak
- Don’t feel comfortable in windy water conditions
- Need a fully effortless, low-effort outing
Families can enjoy it, but keep in mind the real-world demands: hauling kayaks, coordinating tandem setups for younger kids, and paddling effort. Teens often do well when they’re motivated; little kids may be harder for the physical side of this day.
The bottom line: should you book Kailua Bay for this kayak and snorkel day?
Book it if you want a half-day that feels like you actually visited island spaces—not just floated near the shore. The combination of Mokulua landing, Lanikai snorkeling, included gear, and a proper lunch is the kind of value that’s hard to recreate on your own.
Think twice if you’re expecting a light, casual paddle with easy logistics. The kayak move to the water and the paddling itself are real. Also, wind can change what you’re able to do on the water, so you’ll get the best experience if you’re flexible about snorkeling intensity.
If you match those conditions, Kailua Bay delivers a memorable day: sea turtles as a real target, bird sanctuaries as a special-feeling stop, and a morning start that makes the bay look its best.
FAQ
How long is the Kailua Bay kayak and snorkel tour?
It runs about 5 hours 30 minutes (approx.).
What does the price include?
The tour includes kayak use, snorkel equipment, dry bag, locker and showers, island landing permits, safety briefing and instruction, and a deli lunch.
Is pickup available?
Yes. Pickup is offered only if you select/pay for that option. Pickup times are listed for multiple Waikiki-area hotels and locations, and you wait until your name is called.
Can I go self-guided?
Yes. You can choose self-guided or small-group guided when booking. If you choose self-guided, the itinerary is described as flexible.
Where does the snorkel happen?
The tour includes snorkeling off Lanikai Beach and snorkeling around the island area (including the Mokulua Islands stop).
Do I need to be able to swim?
Yes. The information provided states that all guests must be able to swim, and life jackets are provided.
How physically demanding is it?
It requires a moderate physical fitness level. You should be prepared to paddle and also to help transport the kayak (it’s about 70 lbs) to the beach area using a cart and dragging over sand.