REVIEW · BIG ISLAND OF HAWAII
Big Island: Fat Tire E-Bike Tour through Volcanoes National Park
Book on Viator →Operated by Volcano Ohana · Bookable on Viator
Skip the windshield for Volcanoes National Park.
I love how fat-tire e-bikes make this park feel reachable without turning it into a workout contest. I also love the human touch from guides like Nicole and Derek, who keep the ride focused on geology, plants, and what you’re seeing as you roll. One thing to plan for: this is not a slow, ultra-beginner bike lesson, and refunds are not offered if you cannot ride the e-bike confidently.
The tour hits the park’s best paved areas with stops for photos and explanations, so you spend less time stuck in parking headaches and more time outside in the open air. Expect a mix of riding and a little walking, with a pace that’s relaxed most of the way, especially thanks to pedal assist, throttle help, and torque sensing for smoother starts. A possible drawback is weather and timing: Volcanoes can be cool and damp, and conditions sometimes affect how much time the park is open.
In This Review
- Key things that make this tour a smart pick
- Volcanoes National Park by e-bike: why this beats a drive
- Getting started at Kilauea Lodge: helmets, snacks, and a real safety brief
- The ride plan: Escape Route gates, paved roads, and planned photo breaks
- Lava tube and short walks: when you’ll park the bike and stretch
- Volcano House and photo timing: great stops, but watch the pacing
- Views without the parking headache: what you’re really gaining
- How hard is it, really? Setting expectations on hills, effort, and assist
- What you should pack (so rain and elevation don’t ruin your day)
- Guides like Nicole and Derek: what their storytelling adds
- Small-group comfort: 12 riders changes the whole vibe
- Price and value: is $199 for 3 hours fair?
- If conditions change: volcanic activity and day-of disruptions
- Final call: should you book this Volcano Ohana e-bike tour?
Key things that make this tour a smart pick
- Small-group pace (max 12) keeps the ride safer and the stories easier to follow
- Thick fat tires + e-bike assist help you move through rougher park ground without white-knuckle steering
- Guided stops at major park points means you get context, not just pretty views
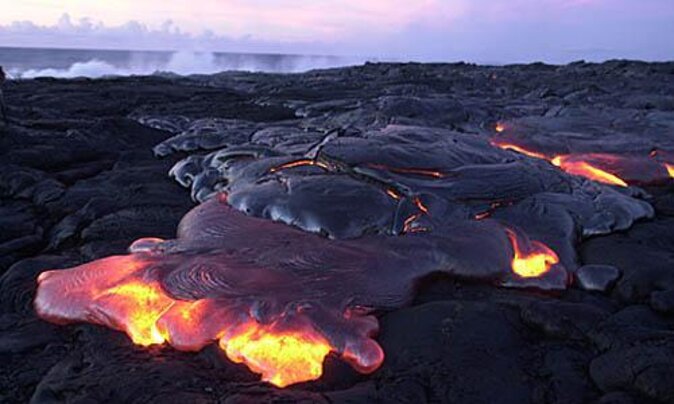
- Lava tube and viewpoints add variety beyond what you’ll get by driving alone
- Practical gear included (helmet, snacks, water, and often safety goggles and towels) cuts down what you must pack
- You control your effort with assist settings, so you can ride without racing your legs
Volcanoes National Park by e-bike: why this beats a drive
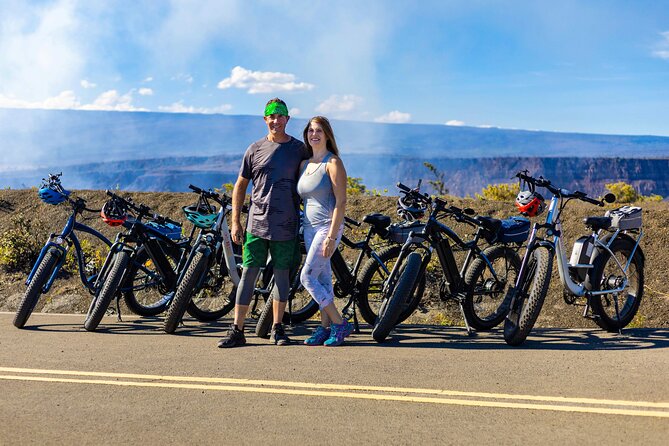
Volcanoes National Park is one of those places where a car shows you things—but it also hides the details. Roads are busy, parking is hit-or-miss, and you’re stuck looking through glass while you hunt for the next stop.
This fat-tire e-bike tour fixes that. You’re rolling on park paths and roads with pedal assist and a throttle, which matters more than you’d think once you’re dealing with hills and the stop-and-go rhythm of a guided route. Fat tires also add stability. Several riders describe it as easy to learn, even if it’s your first time on an e-bike. And because your guide plans the route, you’re not guessing which roads connect best or where the best photo moments sit.
The best part for many people is the combination: you get outdoors access plus guided interpretation. That’s what turns the park from scenery into understanding.
You can also read our reviews of more tours and experiences in Big Island of Hawaii.

Getting started at Kilauea Lodge: helmets, snacks, and a real safety brief
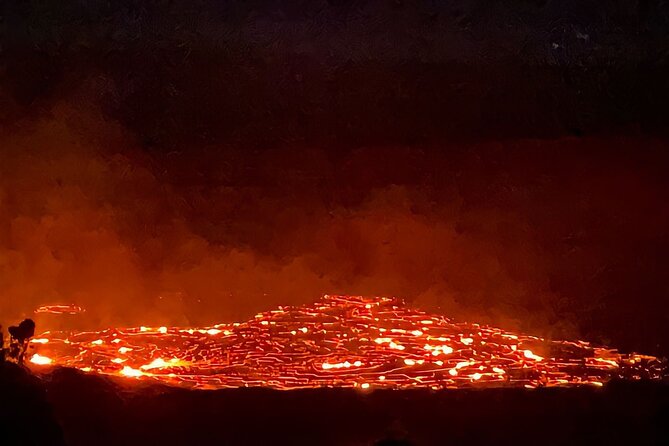
The ride begins at the Kilauea Lodge and Restaurant extension parking lot (the exact meeting address is 19-3948 Old Volcano Rd, Volcano, HI 96785). Before you go anywhere, you get a thorough safety briefing and instructions on how to operate the e-bikes.
Expect a quick orientation right away:
- how the controls work (pedal assist, throttle)
- how to start and stop smoothly
- what to do in traffic-like road situations inside the park
- where helmets and gear go, and how to store snacks and small items
You’ll also get snacks and water from the start. One nice detail is the “don’t worry, it’s handled” approach: riders note a travel sack for snacks and water built into the bike setup. Some bikes also come with safety goggles if you don’t have sunglasses, plus a towel and a shammy cloth for wiping down. That’s small stuff, but it keeps the ride comfortable.
Two practical tips that help:
- Arrive ready for a cool, changeable climate. Many riders talk about needing layers and rain protection even when it’s sunny elsewhere on the island.
- When you get your bike, check your seat height. One negative experience mentioned seat fit and comfort, and the safest move is to adjust early before you roll.
The ride plan: Escape Route gates, paved roads, and planned photo breaks
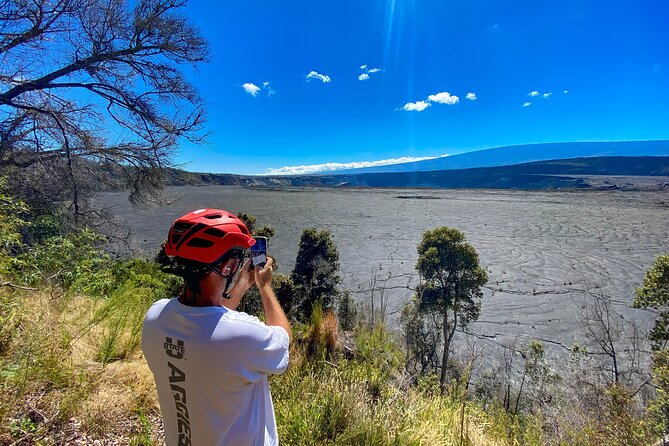
After the orientation, you’ll head through the Escape Route gates area and ride paved roads inside the park. The tour is built around stops at points of interest, so the guide can share what you’re looking at—geology, history, and the local ecosystem.
Even if you’re comfortable on bikes, don’t expect this to be a pure “ride nonstop” experience. The value is in the pauses. Those breaks are when you:
- see the big volcanic features up close
- hear how the landscape formed and what to look for
- get guided photo positioning so everyone captures the same viewpoint without crowding
From what I’d plan for, the route can include a lava tube stop (with a short walk) and viewpoint moments that make the ride feel varied. There are also mentions of seaside vistas and lookouts, so you’re not just staring at one type of terrain for three hours.
One rider shared that the ride can average around 8 mph, and another noted roughly 12–15 miles. That helps you set expectations: this is for seeing and learning, not setting speed records.
Lava tube and short walks: when you’ll park the bike and stretch
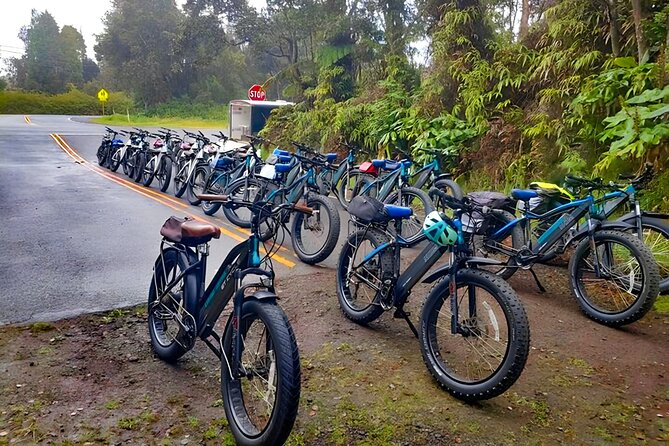
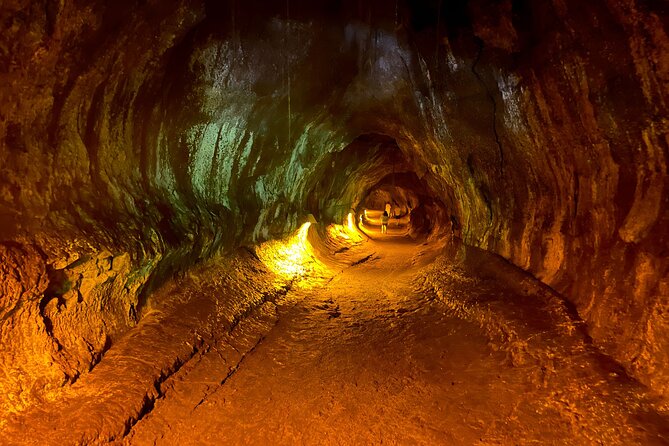
One of the most memorable moments on this tour is a lava tube stop. You ride to the area, then there’s a short walk as part of the experience—often described as easy enough to manage, but still something you should mentally budget for.
This is where the tour feels different from driving:
- You’re moving through the park, not just stopping at pull-offs.
- You get a structured route that brings you to the lava tube with context about what you’re seeing.
- The photo moment tends to be built into the stop, so you’re not rushing to get there while cars pass behind you.
That said, the walking can be a surprise if you’re assuming a totally seated experience. One couple even called out some walking they didn’t expect. So if you have mobility limits, plan to bring patience and choose footwear you can move in comfortably.
Volcano House and photo timing: great stops, but watch the pacing
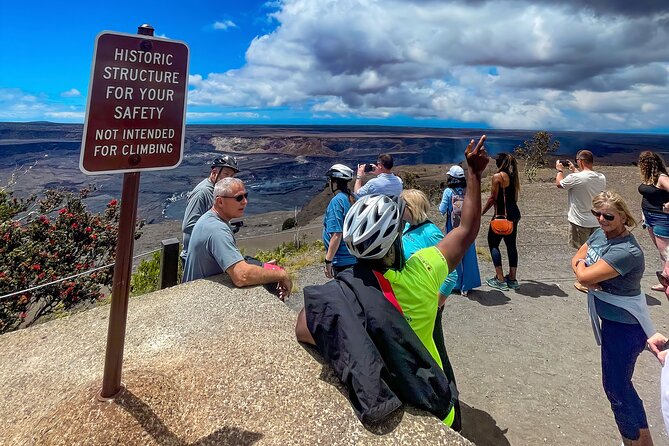
Many trips include time around the Volcano House area, which is a natural focal point because it’s an easy place to gather. A positive experience highlights how guides are attentive and knowledgeable with stops that feel worth it.
But there’s a balancing act here. One less-perfect review complained about spending too long at the Volcano House lobby during a rainy visit, which made the overall route feel shorter than hoped. It’s not that the stop is bad—it’s that the time feels tight if you were expecting more riding and fewer indoor interruptions.
If you want the best version of this tour:
- treat indoor lobby time as weather insurance, not the main event
- be ready to move out quickly when the guide signals it’s time to get back on the bikes



Views without the parking headache: what you’re really gaining
A big value of this tour is simply access. Park roads are scenic, but parking lines can be painful. E-bikes let you skip some of that stress, and several riders explicitly mention zooming past cars waiting for parking spots.
That changes the feel of the day. Instead of spending energy on logistics, you spend it on:
- keeping your eyes up for views
- listening to guide explanations while you’re still right where the story connects
- stopping for photos when the timing is right
And because this is small-group (maximum 12), it stays more conversational. Guides like Nicole and Derek are praised for being attentive—waiting for slower walkers and adjusting the flow so the group doesn’t get separated.
How hard is it, really? Setting expectations on hills, effort, and assist
The tour recommends intermediate biking skills, and the e-bikes are heavy (65 pounds), which matters if you’re very new to bikes or worried about handling the machine. Also, refunds are not issued if you can’t ride the e-bikes.
From the good feedback, many people still found it doable—retirees, couples with mixed experience, and riders who hadn’t been on a bike in a while. They credit the initial instructions and the way the bikes help you up hills.
Still, here’s what to take seriously:
- Plan for a few hills even with assist.
- Expect the ride to be mostly “fun effort,” not purely flat cruising.
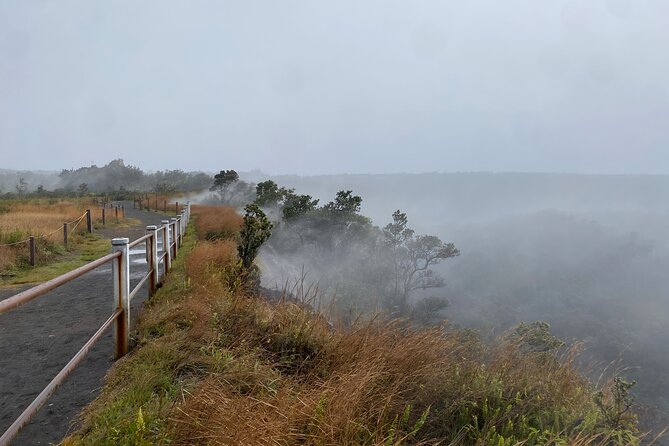
- Bring layers. High elevation can mean cooler temperatures and possible rain.
A practical strategy: if you start feeling unsure, slow down, focus on control, and don’t fight the learning curve at the first hill. Getting comfortable early is part of the experience.
What you should pack (so rain and elevation don’t ruin your day)
The tour includes helmet, snacks, and water. You bring everything else that makes the ride comfortable.
Based on real comfort needs people reported:
- rain jacket or waterproof shell
- layers (even if you’re coming from a sunny coast)
- hat for sun or drizzle days
- gloves if you run cold
- comfortable shoes you can walk in for short stretches
- loose pants or capris that won’t snag or feel restrictive on the bike
Even on a good day, Volcanoes weather can shift fast. One rider suggested rain gear plus gloves, and another pointed out the high-elevation chill.
Also, if you wear glasses, sunglasses might not be your friend in rain. Safety goggles can help keep conditions clear.
Guides like Nicole and Derek: what their storytelling adds
The ride isn’t just about transportation. Guides bring the park to life.
In particular, Nicole and Derek are repeatedly named for:
- explaining geology in plain language
- pointing out plants, animals, and how the ecosystem fits the volcanic setting
- making the group feel safe and comfortable during the learning part
- adjusting their pace to help slower walkers keep up
That’s the reason this works better than a self-guided drive. When you can see the same feature the guide describes, it sticks.
And the best guides also help with the small human details—photo timing, waiting for the right moment, and keeping conversations rolling without leaving people behind.
Small-group comfort: 12 riders changes the whole vibe
A maximum of 12 travelers is a sweet spot. You don’t feel like you’re in a herd, and it’s easier for the guide to keep an eye on everyone’s comfort and control.
This matters on e-bikes because the group needs room to practice starts, stops, and smooth riding. Several riders called out how friendly and patient the instruction felt, especially for first-timers.
If you love meeting other people but hate cramped group tours, this size is ideal.
Price and value: is $199 for 3 hours fair?
At $199 per person for about 3 hours, it’s not a budget activity. But value comes from what’s included and what you avoid.
Here’s what you’re paying for:
- a guided route through Volcanoes National Park highlights
- e-bike rental and helmet
- snacks and water
- instruction on how to operate the bikes
- access that reduces time fighting for parking
If you were to drive and do the same stops yourself, you’d still need to figure out timing, parking, and which viewpoints connect efficiently. This tour compresses that into one planned session with a guide managing the route and interpretation.
Is it worth it? For most people who want the park’s top areas in a few hours and don’t want to spend the day in parking/traffic mode, yes. But if you’re truly new to e-bikes and not willing to take the safety brief seriously, the no-refund-for-riding-inability rule makes it risky. In that case, either practice first or look for a gentler beginner option.
If conditions change: volcanic activity and day-of disruptions
Volcanoes National Park is an active place, and sometimes the day does not go perfectly. One account mentioned being there during a volcanic episode, with the park later closing and an evacuation happening.
I can’t promise that won’t happen. What I can tell you is to be flexible. If the park closes or safety rules shift, your ride time may change. This is one reason to book with a good attitude and a weather-resistant plan.
Final call: should you book this Volcano Ohana e-bike tour?
Book it if you want:
- an efficient way to see Volcanoes National Park highlights in a few hours
- pedal assist support so you can focus on views and photos
- guide-led geology and ecosystem stories from people like Nicole and Derek
- a small group where you can actually hear explanations
Consider skipping or preparing more if:
- you’re expecting a beginner bike lesson. This tour is not positioned that way.
- walking short stretches is a deal-breaker for you.
- you’re not comfortable riding soon after the controls briefing—because the policy is firm if you can’t ride.
My advice: if you’re reasonably active, comfortable learning bike controls quickly, and you pack layers and rain gear, this is one of the more fun and efficient ways to experience the park without spending your day hunting parking spots.